The Most Overlooked Step in Ceramic Coating Application in Ceramic Coating Denver
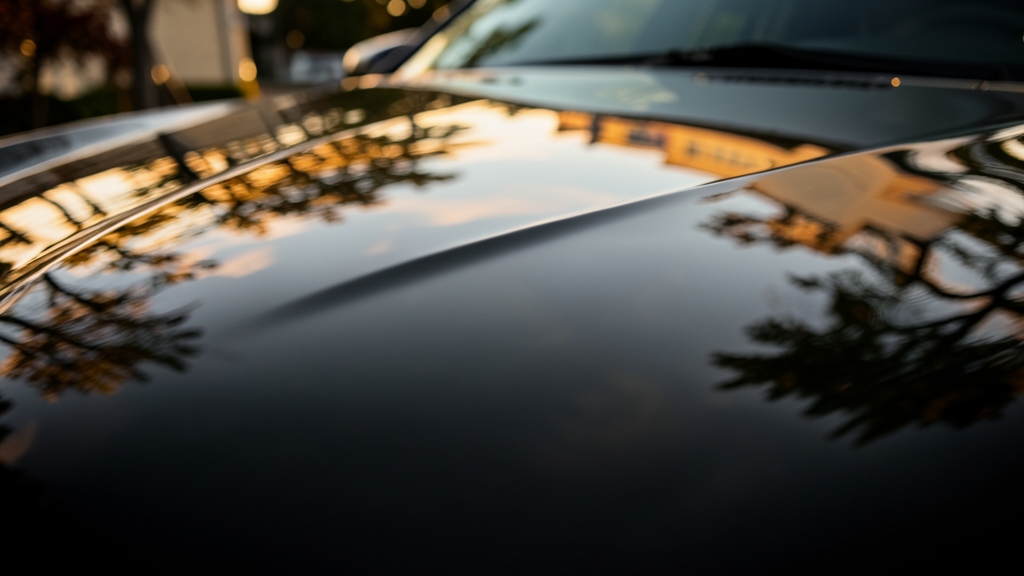
Most enthusiasts focus on the coating itself, but the real magic happens before the first drop touches the paint. In Denver’s harsh climate—intense UV, temperature swings, and road grime—the prep stage isn’t just important, it’s everything. Skip it, and even the best ceramic coating will fail prematurely.
Why Prep Work Makes or Breaks Your Ceramic Coating
Ceramic coatings bond at a molecular level to your clear coat. If the surface isn’t perfectly clean and smooth, the coating adheres to contaminants, not the paint. That means reduced durability, uneven sheen, and wasted product.
Denver’s roads throw salt, magnesium chloride, and industrial fallout at your vehicle year-round. These embed in the clear coat and must be removed before application. Otherwise, they’ll be sealed in forever.
The Step 90% of DIYers (and Some Pros) Skip: True Paint Correction
Many stop at washing and claying, but true prep requires paint correction. Swirl marks, oxidation, and fine scratches won’t disappear under a ceramic coating—they’ll just look glossier and more permanent.
In our high-altitude sun, UV damage accelerates. A proper correction pass with dual-action polishers and fine compounds restores clarity, ensuring the coating enhances, not hides, your paint’s true condition.
Applying ceramic coating over uncorrected paint locks in imperfections. Once sealed, fixing them requires stripping the coating and starting over—a costly mistake.
Decontamination: The Invisible Enemy
Iron particles from brake dust and rail dust bond to paint and can’t be removed by washing alone. A dedicated iron remover (like P&S Brake Buster or CarPro Iron X) dissolves these, turning purple as it works.
After chemical decontamination, a clay bar or mitt lifts embedded grime. In Denver’s dry climate, static cling makes contaminants stick harder—so this step is non-negotiable.
Polishing: The Difference Between Good and Great
Polishing isn’t just for shine—it levels the clear coat’s surface. Micro-marring from washing or automated car washes creates a textured surface that scatters light, dulling your finish.
We use a two-step polish process: a heavier cut to remove defects, followed by a fine polish to refine. This ensures the ceramic coating bonds to a mirror-smooth surface, maximizing gloss and longevity.
| Step | Purpose | Tools/Products |
|---|---|---|
| Wash & Dry | Remove loose dirt | pH-neutral shampoo, microfiber towels |
| Iron Remover | Dissolve embedded metals | Iron X, Brake Buster |
| Clay Bar/Mitt | Lift bonded contaminants | Clay lubricant, synthetic clay |
| Compound (if needed) | Remove deep scratches | Dual-action polisher, medium-cut compound |
| Fine Polish | Refine surface | Finishing polish, soft foam pad |
| Final Wash | Remove polishing oils | Prep spray, alcohol wipe |
The Final Wipe: No Compromises
After polishing, a final wipe with a panel prep solution (like CarPro Eraser or Gyeon Prep) removes any remaining oils, silicones, or polishing residues. This step ensures a chemically clean surface for optimal adhesion.
In Denver’s low humidity, static can attract dust during this stage. We work in controlled environments and use anti-static sprays to prevent recontamination.
Use a tack cloth or a 50/50 mix of isopropyl alcohol and distilled water for your final wipe. Avoid household cleaners—they often leave residues.
How Denver’s Climate Affects Your Prep
Our 300+ days of sun per year mean UV damage is a constant threat. Paint correction must address oxidation that’s often invisible until it’s too late.
Winter brings magnesium chloride and sand, which etch into clear coats. A thorough decontamination pass in spring is critical before applying any coating.
Altitude also means thinner air, which can affect curing times. We account for this in our application process to ensure full bonding.
Common Mistakes We See in Ceramic Coating Denver
Skipping the clay bar step because the paint ‘looks clean.’ Contaminants are microscopic but devastating to adhesion.
Using a single-stage polish when a two-stage is needed. This leaves behind micro-scratches that the coating will amplify.
Rushing the final wipe. Residue from polish or cleaners will prevent the coating from bonding properly, leading to premature failure.
Pre-Ceramic Coating Checklist
- Full wash with pH-neutral shampoo
- Iron remover application
- Clay bar or mitt decontamination
- Paint inspection for defects
- Two-step polish (if needed)
- Final wipe with panel prep solution
- Inspection under LED lighting for missed spots
When to Call in the Pros for Paint Correction & Coating
If your paint has deep scratches, heavy oxidation, or swirl marks, DIY prep may not cut it. Professional paint correction requires skill, the right tools, and experience—especially for darker or metallic paints.
For fleet vehicles or high-end cars in areas like Lakewood or Aurora, we often combine paint correction with Paint Protection Film (PPF) on high-impact areas before applying ceramic coating for ultimate protection.
How to Properly Prep Your Car for Ceramic Coating
Follow these steps to ensure your ceramic coating adheres perfectly and lasts for years.
- 1Deep Clean the Surface
Wash your car with a pH-neutral shampoo and dry with microfiber towels. Use a foam cannon for thorough coverage.
- 2Decontaminate with Iron Remover
Spray an iron remover on all painted surfaces, let it dwell until it turns purple, then rinse thoroughly.
- 3Clay Bar Treatment
Lubricate the surface with clay spray and gently glide a clay bar or mitt over the paint to lift embedded contaminants.
- 4Inspect and Correct Paint
Use a dual-action polisher with a fine compound to remove swirl marks and light scratches. Follow with a finishing polish for a mirror-like surface.
- 5Final Wipe Down
Wipe the entire surface with a panel prep solution or isopropyl alcohol mix to remove any remaining oils or residues.
- 6Inspect Under Lighting
Check the paint under LED or halogen lights to ensure no defects or residues remain. Reclean any missed spots.
Frequently Asked Questions
How long does the prep work take for ceramic coating in Denver?
Prep time varies by vehicle size and condition, but expect 6–12 hours for a full decontamination, correction, and final wipe. Rushing this step risks poor adhesion and reduced longevity.
Can I apply ceramic coating without paint correction?
You *can*, but you shouldn’t. Ceramic coating amplifies your paint’s current condition. Without correction, swirls and scratches will be permanently sealed in, looking worse under direct sunlight.
What’s the biggest mistake DIYers make with ceramic coating application?
Skipping the decontamination step. Many assume a wash is enough, but iron particles and embedded grime prevent the coating from bonding properly. This leads to peeling or uneven curing.
Does Denver’s altitude affect ceramic coating curing times?
Yes. Thinner air at higher elevations can slow curing. We adjust our application process and curing times to account for this, ensuring full bonding and durability.
Is paint correction necessary for a new car before ceramic coating?
Even new cars often have dealer-installed contaminants, swirl marks from transit, or factory defects. A light polish and decontamination ensures the coating adheres to a perfect surface.
How often should I reapply ceramic coating in Denver’s climate?
With proper prep and application, a professional-grade ceramic coating lasts 3–5 years. However, Denver’s harsh UV and winter conditions may require touch-ups or a fresh coat sooner. Regular maintenance washes extend its life.